I enjoy making greeting cards just about as much as most any other type of paper craft endeavor. It’s a somewhat constant in my studio. Recently I put together a card using lineweaving on stars and stacking them on coordinating papers to create the greeting card. I thought this might make a good tutorial for my blog readers who want to know how to put their pattern drawing works into an art project.
By the way, I was inspired to make this card after seeing one on Pinterest presented by Pink Petticoat. I think this same card could use hearts for an anniversary, wedding, or Valentines day themed card.
A kid’s birthday is a significant event, and parents often go the extra mile to make it special. Buying birthday cards and kids clothing is a popular choice among parents. Birthday cards express love and heartfelt wishes, while modest girls dresses provide a thoughtful and stylish gift for the birthday girl. Shopping from a kids clothing website offers a wide range of options, allowing parents to find the perfect dress that fits their child’s style and preference.
Step by Step
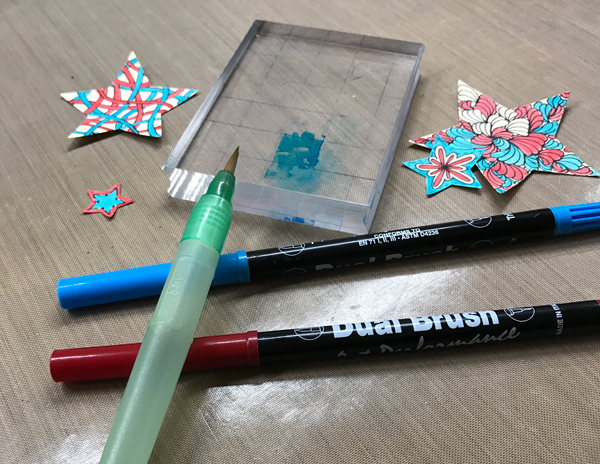
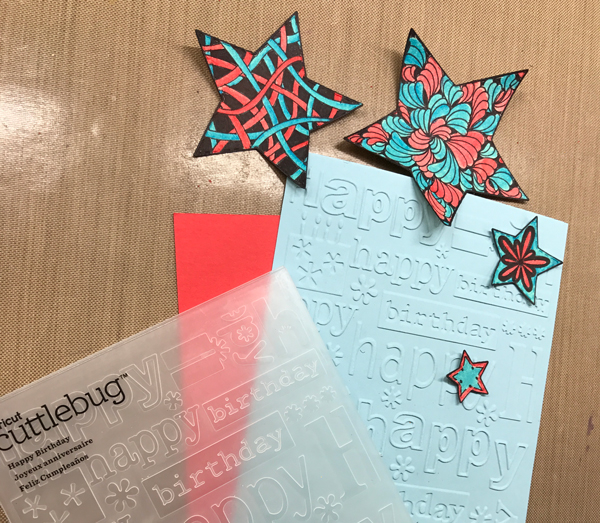
The process was pretty straight forward. First I cut some star shapes using my die-cut machine. But of course you can cut any shape, any way you want. Then I used a permanent ink pen to draw patterns on the stars. This go around I used the Sharpy brand pens. Then I scribbled color swatches onto an acrylic block using water based markers. And used the ink to paint color on the stars – using an aqua brush. You can of course use any method you want to add color to your patterned shapes.
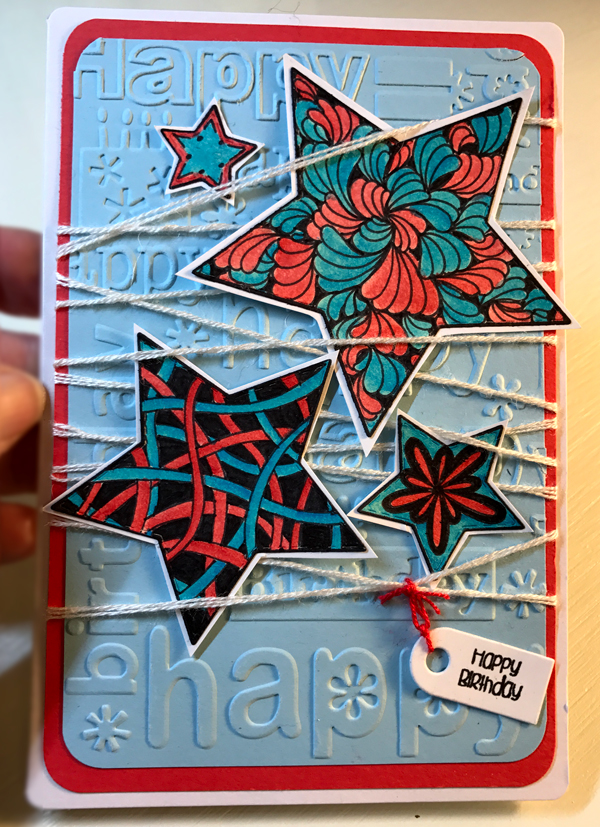
I embossed a Happy Birthday greeting back ground on blue card stock and cut a red piece to coordinate with the colors I used on the stars. Then I rounded the corners. If you have some papers in your stash that you think would make for a great card front, skip the embossing part. Just add matching colors to your shapes. Leftover wrapping paper might even be the perfect card front!
Then I wrapped a piece of white embroidery floss around the top paper stacks, adding the stars so they looked to be attached by the string. Since my embossed image didn’t lend itself to a full birthday greeting – I cut+stamped and added a birthday greeting mini tag. Walah! Was finished in just a matter of minutes.
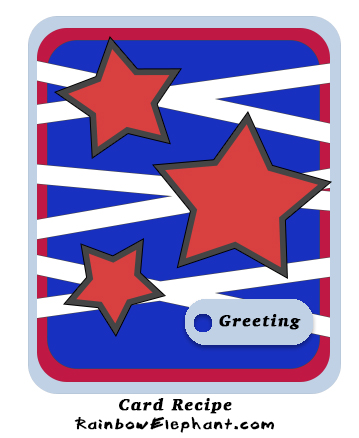
Stars on my card this time, but maybe birds, hearts, circles, or some other shape the next time. You could even cut the shapes and add the patterned art ahead of time if you want to keep your hands busy while watching TV. Then build the paper stacks on the card base later when you have more time. Here’s a card recipe picture in case you want to save it and give this one a go sometime.
It’s such an easy way to create small works to gift to family and friends. And now I challenge you…. Pull out your favorite pens, papers, and glues. Maybe some ribbons or string too. Get to work on a card for someone you know. Surely they will like the handcrafted creation that was made just for them. If you make one using this recipe, please share. I’d love to see your creations!
Have a Good One Everyone!
~Cindy