This is a simple altered box project, much like the one I made back in May – except this one has a Christmas theme. After creating this quick and easy memory chest, slip it under your Christmas tree or decorate a coffee table with it. Then add cards, photos, and other Christmas memorabilia as the holiday moves forward. Your family and guest will enjoy taking a walk down memory lane while rummaging through it at their leisure.
Recycle When You Can
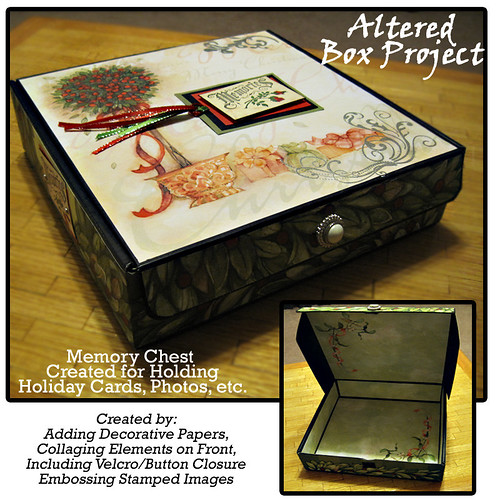
I recycled a box that software came packaged in. On this project I really lucked out. My box happened to be black already with no printed items on it that would show after adding my papers. If you didn’t have one similar, you could easily buy one or spray paint a box already in your stash.
The Creative Process
I picked out some matching Christmas papers from my scrapbooking paper stock. Cut pieces sized just slightly smaller than each surface edge I wanted to cover. I did both the inside, outside and the bottom of the box as well. When covering such a box it’s best if you don’t ‘wrap’ the paper around the edges. Because doing so ads bulk to the box and makes it more difficult to open and close. I attached these papers using double-sided tape.
The the hinged closure flap I stapled on a small piece of loop tape (velcro) and then covered the staple it with a pretty button. I attached the other half of the Velcro on the box side panel to create a closure than even my grandchildren can easily open.
My Title Tag(s)
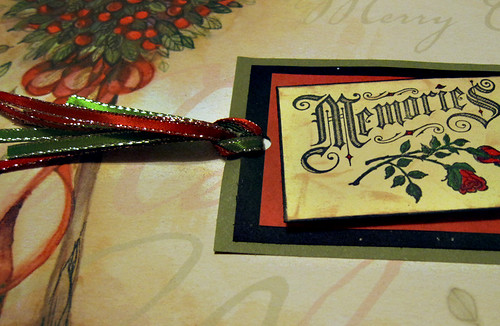
On the lid of the box I stacked a few pieces of coordinating cardstock and punched a whole to make a tag. Then I strung some festive ribbon through the hole and topped that off with a stampled element mounted using foam padded tape to add a 3-D look and feel to the project. My black cardstock has flecks of silver in it and I colored in the roses part of the “Memories” stamp image – using Sharpie markers.
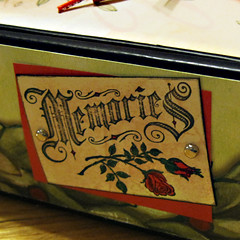
Then I added similar tags to each side using silver office brads. Now when I put the Memory Chest under our tree, no matter which angle it sits at you can see a decorative element.
The Finishing Touches
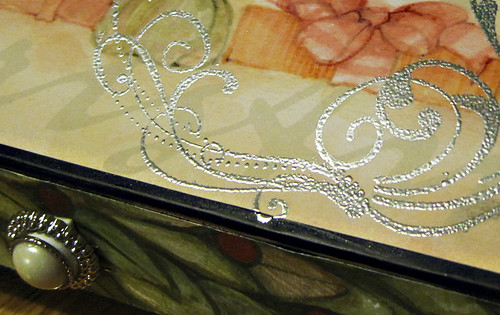
Then to the top of the box I stamped some flourish images (one can never have too many florishes on Christmas decorations). And heat embossed those with shiny silver to give it a little extra holiday cheer.
Because my recycled box had some printed logos on the bottom of it I added a matching block of paper on the bottom and doodled our family name on it. No picture to show this, but I think you can still get the idea.
Additional Box Ideas
When you were in elementary school did you make decorated Valentine mailboxes using old tissue boxes? We did. And the he slit in the top was used for each student to deliver their Sweetheart mail through. You could do a similar thing at Christmas time. Grab an empty tissue box, have your young ones decorate with a holiday theme – then drop a little something special in there each day and share fun surprises with one another all through the season!
See my Altered Kindle Box posting for yet another idea for up-cycling boxes into decorative, pieces in your home.
TFL ~Cindy
.

