Here’s another pattern I hope you’ll enjoy. Looking at some paper lanterns hanging at an outside party had me inspired to create a pattern with a set of lines that seemed to pull together at a single point. That’s how I saw the folks in the real lanterns and I came up with my own version of how that might look on paper.
I originally named this pattern “Paper Lantern” after my inspiration element and then I Zenned it over to, “Plantern.” When learning how to draw this one you may think it looks like it’s always drawn between straight lines. But it really isn’t. After learning the basic drawing steps and in time you may find you do something similar to me – you’ll adapt it to various shapes and have even more fun with it. At least I hope you will!
When I first developed this design I used dots to make even divisions before drawing my lines with full intentions of leaving the dots off once I got a better feel for spacing my lines. However – after playing with the design several times I decided I actually like how the dots add to the final product, giving it more weight. So I decided to leave them be and let the design stand true to it’s original creative moments.
—————————————————————————

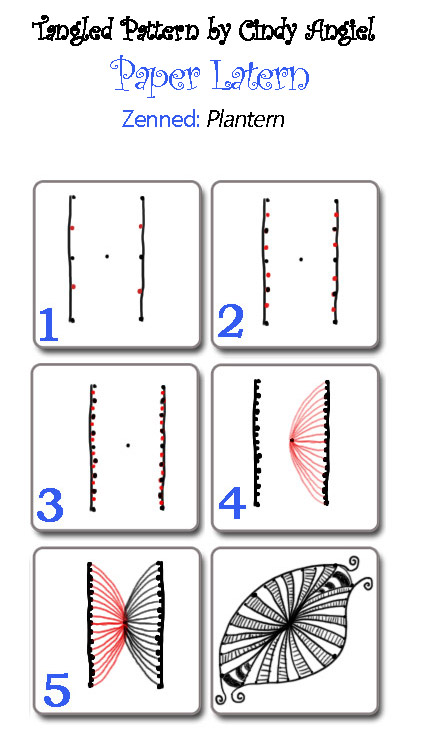
How to Draw Plantern on Your Projects
Whether line weaving this design between straight lines or curvy ones the trick to making this one is to determine your left and right sides first. Then divide each of these sides up evenly using dot markers – and also marking a center point where all the lines will come together. Maybe that sounds confusing, but it really isn’t.
This is one of those that is probably easier to understand if you watch the actual drawing process. Here’s a How-to video showing you the basic steps for creating the design:
—————————————————————————
Examples of Paper Lantern on Display
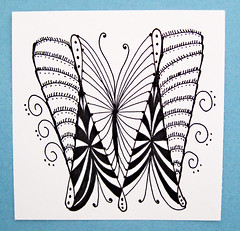
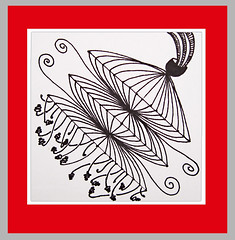
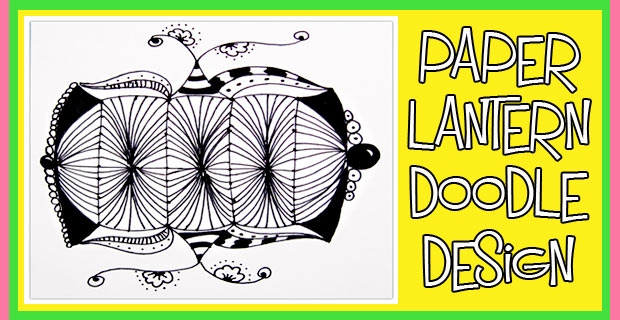
Here’s a few examples of how I’ve used the design in some of my drawing projects:
———————————————




What a great tangle! Thank you for sharing it, Cindy.
Ooooh. Thank you
I love this pattern…very creative and versatile! Thank you for sharing!
June