This is the 3rd posting in the Valentine Series. The first one was a share I did of valentine mantel decoration ideas. And in the second one I shared easy to pull together wreaths, and table vignette ideas.
Cards are the theme for this final posting in my Valentine Series. This year I made 68 cards to gift away. A couple weeks ago I did the first batch of cards for our military troops. This week I sent some to family and friends, and of course I made a card to gift to my Sweet Valentine next week too.
Cards For Our Troops
For the troops I made two types of cards for 30 care packages. Each member received a post card like this in their packet that included a thank you note from me on the flip side.
I also included in each care package a card with no writing inside with a blank envelope. I sent them that way so the active duty member can send the card back out to a loved one. I did slip a piece of paper inside with a verse on it about why it was left blank. I changed the original slightly so mine read like this:
“I didn’t sign this card before I sent it off to you, instead it holds my warmest thoughts,
thanking you for all that you do for our Red, White, and Blue!
And if you find you want to brighten someone’s day,
then take this card and write a note – sign it and send it on its way.”
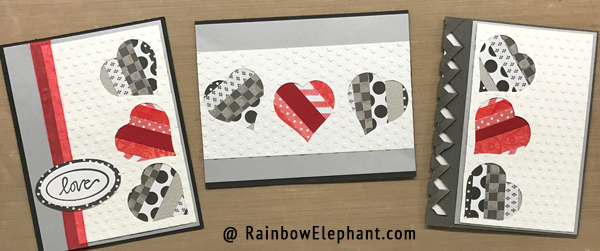
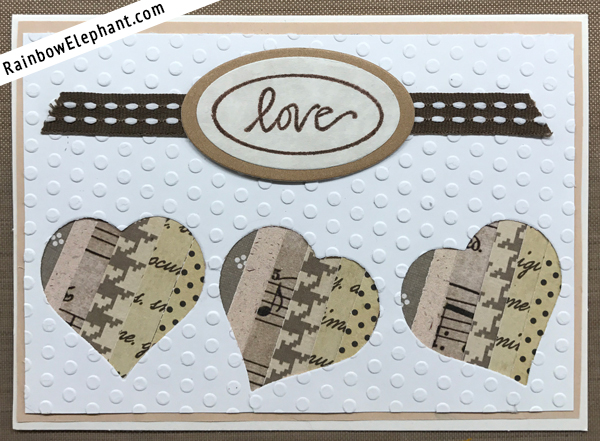
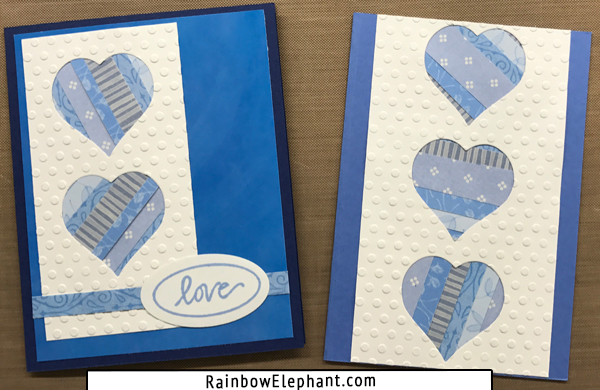
Cards from Paper Scraps
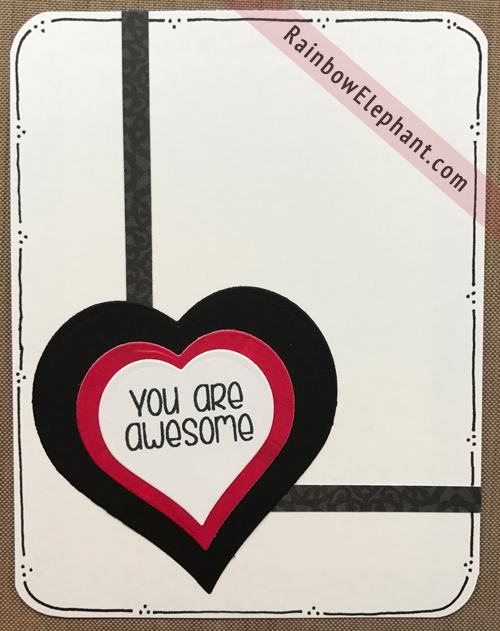
For family and friends I used some of the scraps left over from the cards shown above. When I cut out the white hearts for the troops cards I paid close attention to how I was placing them on the cut sheet. When I was finished I had lots of card front options.
After embossing the white cardstock with a dotted embossing folder – I used strips of scraps to add a little texture and color inside the windows left from the heart cut outs. The look here reminds me a little of the Iris Folding cards I’ve done in the past. Except this was easier to accomplish because I didn’t fold the strips, nor use a pattern for laying them in place.
I finished this set of six cards in about 30/45 minutes. If I had done true iris folding I’d probably still be making the cards and they wouldn’t have been posted to the mail on time this week. 😮
If you’d like to learn more about true iris folding – just leave me a message and I’ll share some patterns and tutorial with that info in it sometime in the coming weeks.
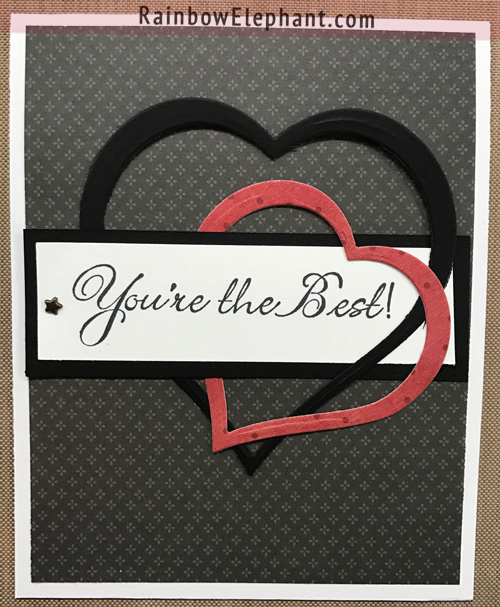
Cut Fold, and Tuck
And here’s another one I did that uses the Multi Frame Die (Incire Round-6) from Nellies Choice. I bought mine from Amazon when it was on sale. I’m a little addicted to the cut, fold, and tuck type projects. They are such fun to do. Nellies Choice has a couple more dies of this type and Spellbinders has several of them too if you don’t want to cut your own by hand.
Did you see the black card base on the far right in the picture above (4th up from here). The folded edge is a cut, fold, and tuck design that I cut by hand. But only because it’s an easy row of evenly spaced lines. I have the pattern if anyone is interested let me know and I’ll post it out as a freebie share, along with a tutorial on how to do the folding.
Hope this has given you some ideas for handmade cards from your studio desk!
Happy Valentines Day to my Lovely Blog Readers!
~Cindy